Electric stoves are reliable and easy to use, but they can still break down without warning. When something goes wrong, it helps to have someone who knows exactly what to look for and can get things back on track fast. That’s why understanding how professionals diagnose electric stove problems in just one visit can be useful for every homeowner.
What Happens When an Electric Stove Stops Working
The moment your stove stops heating or starts acting strangely, daily routines fall apart. For example, maybe one of the burners is cold while the others are fine. Or perhaps the entire cooktop shuts down after just a few minutes. These issues can feel frustrating, especially when you rely on the stove for every meal.
That is to say, electric stove issues range from minor wiring problems to serious control board failures. However, the good news is that most of these can be identified quickly. A skilled technician usually arrives with a process in mind and the right tools on hand. Consequently, the first visit is often enough to figure out what’s going on.
Step One: Asking the Right Questions First
Diagnosing a stove begins even before tools are pulled out. Technicians usually start by asking a few key questions. For instance, they may ask when the problem started or whether any unusual smells or sounds occurred.
In addition, they’ll want to know if the issue happens every time or just occasionally. This step is crucial. Above all, these early questions often point directly to the likely cause. By doing this, the expert avoids wasting time checking parts that are clearly unrelated.
To clarify, suppose you mention that a single burner never works while the others are fine. That tells the technician to skip checking the main power supply and head straight for the burner element or its switch. Therefore, gathering basic details first can speed up the entire repair process.
Step Two: Performing a Safe Visual Inspection
Once the problem is described, the next step is a careful inspection of the stove’s components. The technician looks for loose wires, burnt terminals, or melted connectors. These signs often tell a story.
For example, a charred spot on a terminal block usually indicates a short or overload. In other words, what might seem like a mysterious shutdown is often visible damage to a specific part. Likewise, signs of wear and discoloration help pinpoint electrical failures.
Most importantly, a proper visual check is done with the unit unplugged or disconnected from power. Safety always comes first. That is to say, even experienced professionals take time to ensure there’s no risk of shock or further damage.
Step Three: Testing Components with Precision
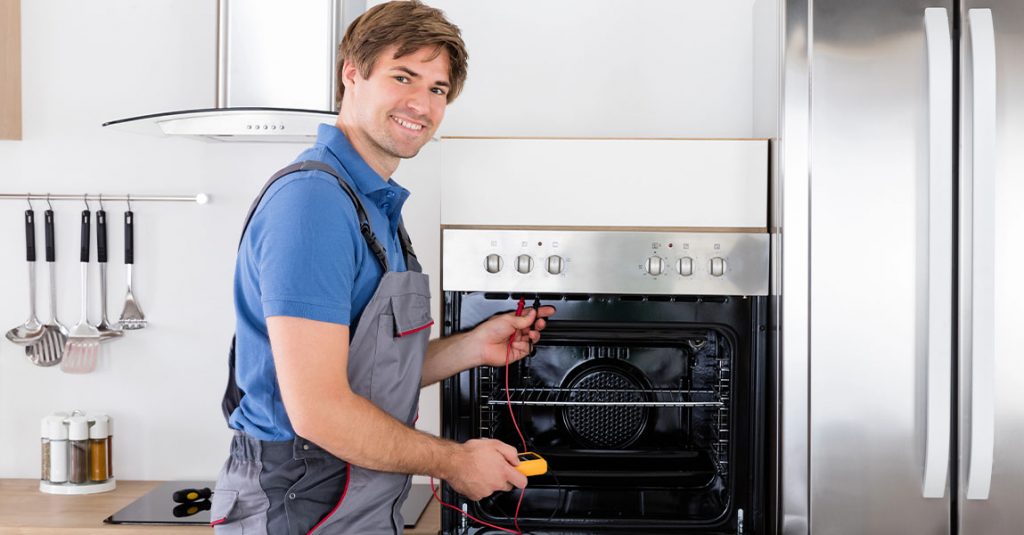
After a visual scan, the technician pulls out their multimeter to test individual components. Each stove part has its own expected electrical resistance. For instance, a working surface element will show a specific reading when tested.
If the reading shows “open,” it means the component is no longer working properly. On the other hand, if the reading is lower than expected, it may point to internal faults that cause overheating. These tests are important. Most importantly, they replace guesswork with clear, measured facts.
In the same vein, technicians also test switches, thermostats, and relays. A faulty switch may still click or feel fine when turned, but the test will show if it is failing internally. Consequently, these tools allow technicians to find the issue even when it’s not visible.
Step Four: Checking the Power Supply and Wiring
Sometimes the problem isn’t with the stove at all. Loose wiring in the wall or a faulty outlet can cause the same symptoms. For example, if none of the burners heat up, it could be a tripped breaker or faulty power cord.
Therefore, professionals always check the stove’s incoming power supply. Using voltage testers, they verify that the appliance is getting the correct amount of electricity. To clarify, if the stove is only receiving one leg of the required power, it may seem like it’s broken when it’s not.
Further, technicians inspect internal wiring from the terminal block to the elements. Any frayed or melted wires are noted. As a result, small repairs to these connections can restore full function without replacing major parts.
Step Five: Identifying Error Codes and Control Board Failures
Modern electric stoves often have digital displays and error codes. If there’s a problem with the temperature sensor or internal board, the display may show a code. For instance, an F1 code on some models indicates a control board failure.
However, interpreting these codes isn’t always straightforward. Each manufacturer uses a different system. Therefore, trained experts use model-specific guides and experience to translate the codes into action steps.
Subsequently, if the control board itself is failing, it often needs to be replaced. This sounds expensive, but in many cases, technicians are able to isolate a smaller failed part. For example, replacing a relay rather than the entire board can save both time and money.
You can read more about detailed component repairs and part-specific fixes through appliance repair in Okotoks, where stove-related services are covered in-depth.
Step Six: Testing the Unit After Temporary Fixes
Sometimes the full repair can’t be done in that first visit, especially if a part has to be ordered. However, technicians often apply temporary fixes to keep your stove usable in the meantime. For instance, bypassing a bad switch may allow the other burners to function safely.
That is to say, even when a part is unavailable, professionals still aim to make your kitchen workable until the return visit. Most importantly, they explain the limits of these temporary setups to prevent misuse.
Once repairs are complete, a full-function test is done. Each burner, oven setting, and feature is checked again. Consequently, you’re not left wondering whether the problem might come back. If anything seems off, a follow-up plan is clearly outlined.
How Speed Comes from Experience and Preparation
The ability to diagnose an electric stove in one visit is not about luck. It’s about repetition, training, and coming prepared with the right parts and tools. For example, most technicians stock their vans with the most common burner elements, thermostats, and wiring kits.
Likewise, familiarity with common stove brands helps them anticipate where issues usually appear. They’ve seen enough broken temperature sensors or cracked switches to know what to look for quickly. In short, it’s not magic—it’s preparation.
If you’re dealing with stove trouble and looking for help, appliance repair in Okotoks includes diagnostic and repair service designed for fast results.
When the Problem Seems to Come and Go
Intermittent issues are the trickiest to catch. For example, maybe your stove only stops heating on certain days or when it’s humid. These are frustrating situations.
However, technicians look for clues in how and when the issue appears. That is to say, environmental conditions, usage habits, or even pests can play a role. Sometimes moisture gets into the wiring or a heat-sensitive component fails under specific conditions.
In addition, long-term wear on relays or capacitors might only show symptoms once the stove reaches a certain temperature. These subtle causes are why a trained set of eyes can still find answers, even if the problem doesn’t show up immediately.
Simple Things You Can Check Before Calling
While professionals should always handle major repairs, there are a few safe things you can check yourself. Firstly, make sure the stove is plugged in fully and that the outlet is working. Try plugging in another appliance to test the socket.
Secondly, check the circuit breaker. Electric stoves usually use a dedicated breaker. If it’s tripped, reset it once and observe what happens. However, don’t keep resetting it if it keeps tripping. That points to a deeper problem that needs expert help.
Lastly, take note of any patterns. Does the issue only happen when using a specific burner? Or after the oven runs for an hour? Sharing these observations can help the technician fix it faster.
For quick advice or to book service, visit our appliance repair in Okotoks services to learn more about booking and response times.
FAQ
What’s the most common reason a stove stops working?
In many cases, a failed surface element or switch is to blame. Power supply issues and tripped breakers are also very common.
Can I fix a burner that won’t heat by replacing it myself?
Technically yes, but diagnosing the cause matters more. A bad switch, wiring fault, or control issue might be behind it, not the element itself.
Is it safe to use my stove if only one burner is acting up?
Usually yes, but it depends on what caused the failure. If it’s a wiring or control board problem, other burners may be at risk too.
Do all electric stoves show error codes?
No. Only digital models display error codes. Manual dial models rely more on symptoms and test readings.
Why does my stove work one day and not the next?
Intermittent faults are often caused by heat-sensitive failures, moisture, or loose connections. These are tricky but still fixable with the right checks.
